Windows installation on DriveDroid
Update: Rufus is now the recommended to write Windows installation ISOs to DriveDroid and other USB drives. Please refer to Using Rufus to create bootable USB images. The tutorial below still explains in more detailed steps how the same thing is done using more low-level tools.
In version v0.7.0 of DriveDroid (Free) and DriveDroid (Paid) a feature has been added to create blank images that look like normal USB disks. This allows you to use tools on your PC to fill the blank USB disk with whatever you want.
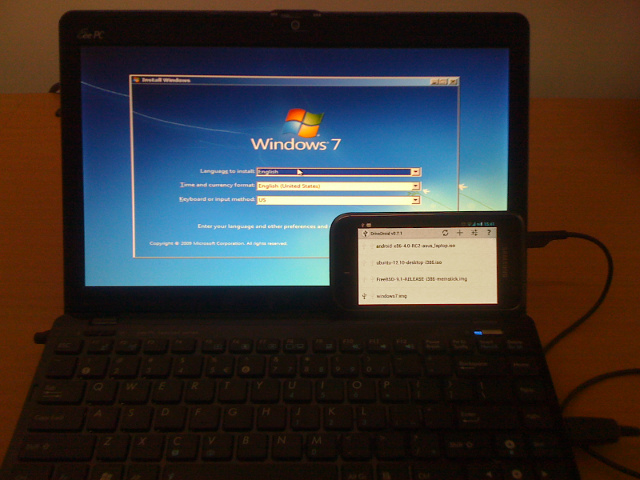
In this post I will show how to create a Windows 7 installation disk that can be booted from your phone with DriveDroid. The disk will be made using files of the official Windows 7 ISO.
Requirements
- DriveDroid v0.7.0+
- 4GB free space on your Android phone
- A PC with Windows 7 and 7-zip installed
- Diskpart utility (installed by default on Windows 7)
- A Windows 7 installation disk or ISO
Note that on some systems diskpart is not installed. I installed it seperately using the diskpart setup.
Image creation
First hook up your phone to your PC using a USB cable.
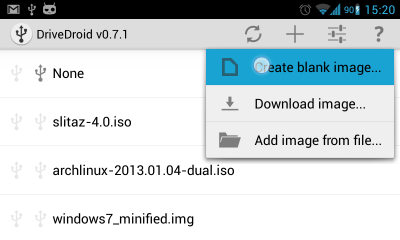
Next we'll have to create a blank image on your phone. On this image we will eventually store the installation disk. In DriveDroid we go to the + button and choose 'Create blank image...'.
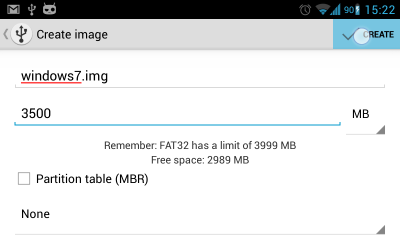
Choose a filename like 'windows7.img' and choose 3500MB as the size for the image. You can uncheck 'Partition table (MBR)' and choose 'None' for the filesystem. Now hit the 'Create' button on the top-right.
As a side-note, we choose to not create a partition table and filesystem here because DriveDroid does not support formatting NTFS filesystems. NTFS is required for the Windows 7 installer to work. We will partition and format the image from your PC in Windows, but we'll get to that.
This will create the image file in the background. Open the notification-bar to see when the image creation is finished. Most time will be used by 'Allocating file...', which creates a 3500MB file. This can take half an hour or so on most devices that have a FAT-32 filesystem on their SD-card, other filesystems do not seem to have this problem and will finish almost instantly.
It is recommended not to do anything else on your phone while the image is being created. At the moment the image creation process can be killed by Android when there isn't enough memory available on the device to launch other applications. I still need to figure out how to avoid this.

Once the image is created go to DriveDroid.
Partitioning and formatting
Select the image in DriveDroid and click the option that says '(read-write)'. As soon as we have done that, Windows will find a new USB drive. A window will popup in Windows asking to format the drive.
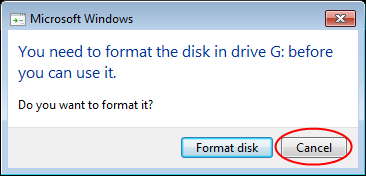
Choose 'Cancel': this method of formatting is not compatible with a Windows 7 install disk, since it'll not create a partition table and bootsector. Thus it will not boot using this option. We will partition and format the disk properly using diskpart.
Go to start and type cmd.exe. Command prompt will open.

Start diskpart by typing diskpart.
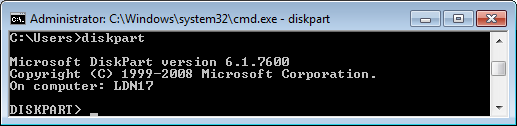
Show the connected disks by typing list disk.

You will see that the image you just created in DriveDroid is listed here as a disk of 3500MB. In this example it is listed as Disk 3.
To work on disk 3, we need to select it by typing select disk 3.

Next we create a partition table and fill the bootsector by typing clean.

Now we can create a partition by typing create partition primary.

The partition hasn't got a filesystem yet. For the Windows 7 install disk we need a NTFS filesystem. We can format a NTFS filesystem on the partition by typing format fs=ntfs quick. This will take a few seconds to a minute or so.

Now we have a bootsector, partition table, partition and filesystem. We only have to mark the partition as 'bootable' to be able to boot from it. We do this by typing active.

Finally we leave diskpart by typing exit. You can close the window after that.

Copying files
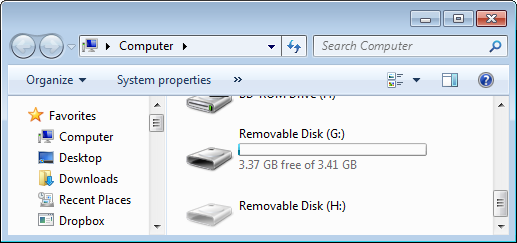
Now we have a disk that has a filesystem and can be booted from. We should be able to see the empty disk in 'My Computer'. In this example it is disk G:.
Next we need to copy files from the official Windows 7 installation CD to the USB drive. If you have the CD at hand, you can just copy those files over.
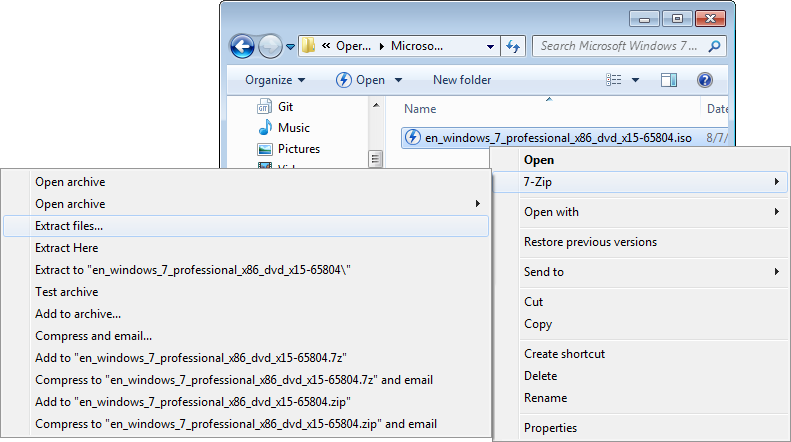
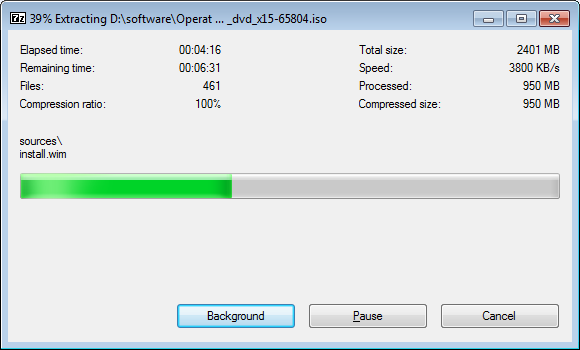
However, since I only have an ISO file I need to extract the ISO to the USB drive. We can do this using 7-zip. Go to the Windows 7 ISO using Windows Explorer. Right click the ISO file, choose 7-Zip and choose Extract files....
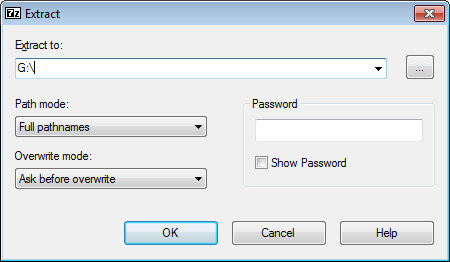
Choose G:\ as the destination to extract the files to and hit OK.
Extracting the files will take a while.
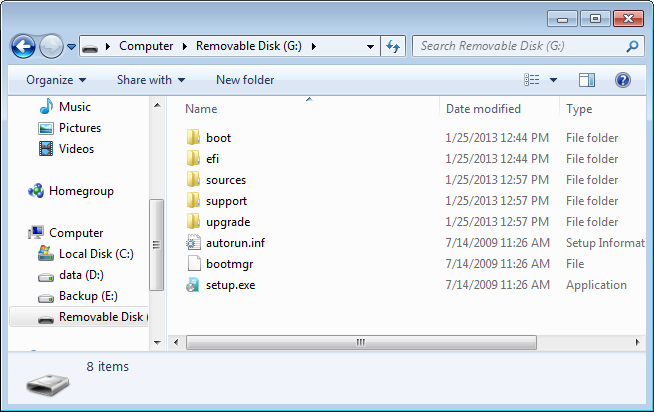
Once the files are extracted the contents of your disk should look similar to this.
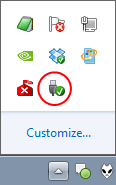
We are finished. The disk should be usable and is stored in windows7.img on your Android phone. If you want to try it on another PC, first safely remove the disk by left clicking the icon in your system tray.
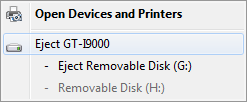
And choosing your phone from the menu. In my case it is GT-I9000 (Samsung Galaxy S).
Unplug your USB cable and plug it in a PC where you want to install Windows 7. Make sure you still have windows7.img selected in DriveDroid.
Boot the other PC, go to the bios and put your phone as the first boot device.
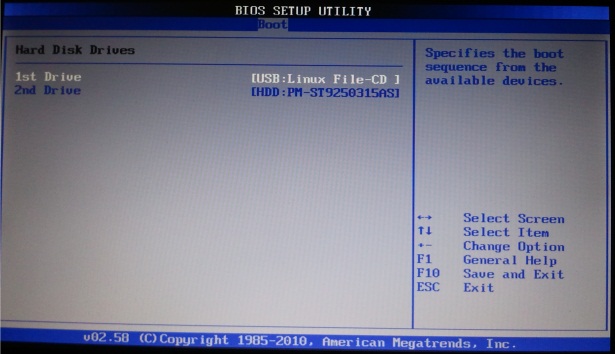
Save the changes and reboot. The PC should now boot the Windows 7 installer from your phone.
