Boot Windows 8 from DriveDroid
In previous tutorials we've seen how to write a Windows installation ISO to an USB drive. This allowed you to start the Windows installer from your phone. What if you could run Windows itself from your phone instead of just the installer? That would make it possible to have an installation of Windows always with you. This is what we'll show in this tutorial.
First off, many thanks to xyancompgeek for his post on XDA-developers. It is what I'm basing this tutorial on.
Requirements
- DriveDroid v0.7.0+
- 5.5GB free space on your Android phone
- A phone that supports files greater than 4GB (most Android 4.1+ phones)
- A PC with Windows 7 or 8
- WimLib
- A Windows 8 installation ISO
Note that at this moment Windows 8.1 installation ISOs will not work. This is because your phone is recognized as a removable drive (like an USB stick) whereas Windows 8.1 requires its drive to be non-removable (like a harddisk). Windows 8 does allow removable drives. If you have a Windows 8.1 ISO, you might want to get a kernel that supports emulation of non-removable drives.
Image creation
First hook up your phone to your PC using a USB cable.
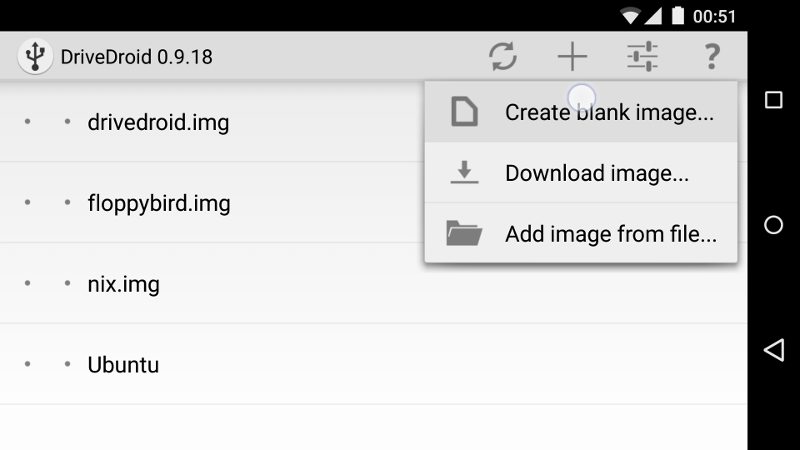
Next we'll have to create a blank image on your phone. On this image we will eventually store the installation disk. In DriveDroid we go to the + button and choose 'Create blank image...'.
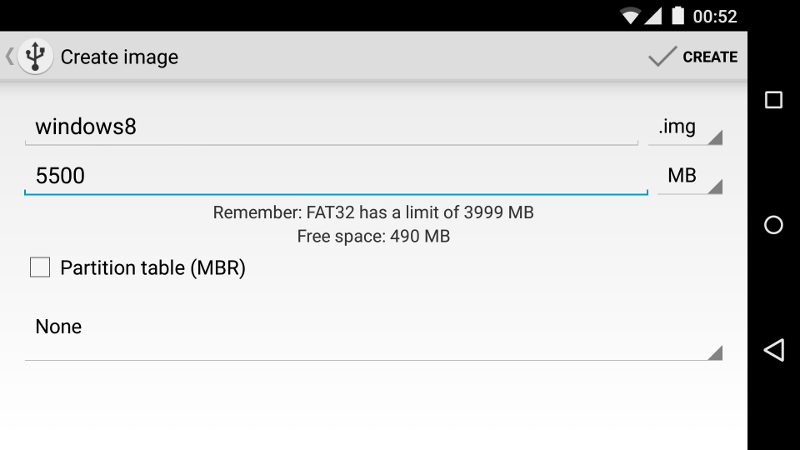
Choose a filename like 'windows8.img' and choose 5500MB as the size for the image. You can uncheck 'Partition table (MBR)' and choose 'None' for the filesystem. Now hit the 'Create' button on the top-right.
As a side-note, we choose to not create a partition table and filesystem here because DriveDroid does not support formatting NTFS filesystems. NTFS is required and Windows does a good job creating a partition table and formatting the NTFS filesystem, but we'll get to that.
This will create the image file in the background. Open the notification-bar to see when the image creation is finished.
Your phone probably has a hard time while it's allocating the file, so it's best not to do anything else while it's working.
Once the image is created go to DriveDroid.
Partitioning and formatting
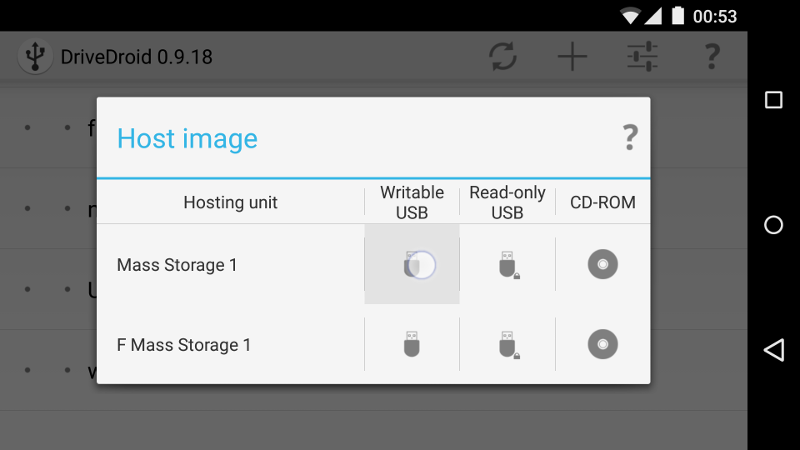
Select the image in DriveDroid and click the option that says 'Writable USB'. As soon as we have done that, Windows will find a new USB drive.
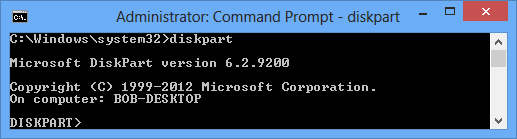
Go to start and type cmd.exe. Right-click 'Command Prompt' and choose 'Run as Administrator'.

Start diskpart by typing diskpart.
Show the connected disks by typing list disk.
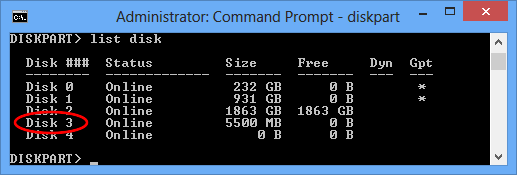
You will see that the image you just created in DriveDroid is listed here as a disk of 5500MB. In this example it is listed as Disk 3.
To work on disk 3, we need to select it by typing select disk 3.

First we remove anything that's already on the disk (if any), by typing clean.

Now we can create a partition by typing create partition primary.

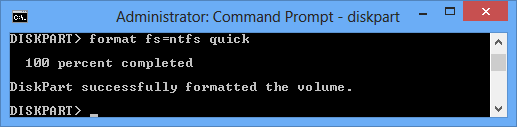
The partition doesn't have a filesystem yet. For the Windows 8 disk we need a NTFS filesystem. We can format a NTFS filesystem on the partition by typing format fs=ntfs quick.
Now we have a partition table, partition and filesystem. We only have to mark the partition as 'bootable' to be able to boot from it. We do this by typing active.

Finally we leave diskpart by typing exit. You can close the window after that.

Now we have a disk that has a filesystem. We should be able to see the empty disk in Windows Explorer. In this example it is disk F:.
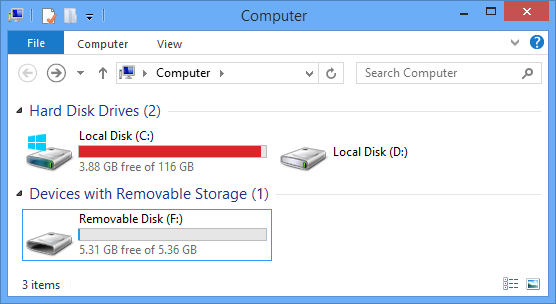
Remember the drive letter 'F:'. We need it later.
Optionally we can make sure the disk compresses all files. This will potentially make some more room for files.

Right-click the drive in Windows Explorer and choose 'Properties'.
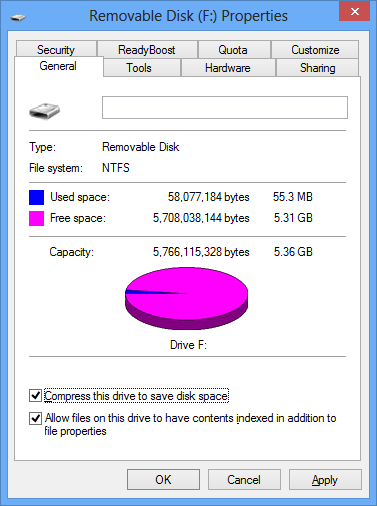
Next check 'Compress this drive to save disk space' and hit 'OK'.
Copying files
The necessary files are on the ISO in a file called 'install.wim'. We will use WimLib to extract this file to the new filesystem.
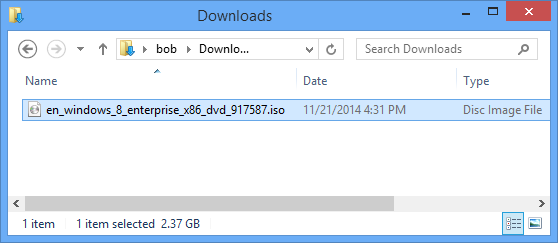
First go to your ISO and double-click it in Windows Explorer. It should open up the ISO and show the contents.
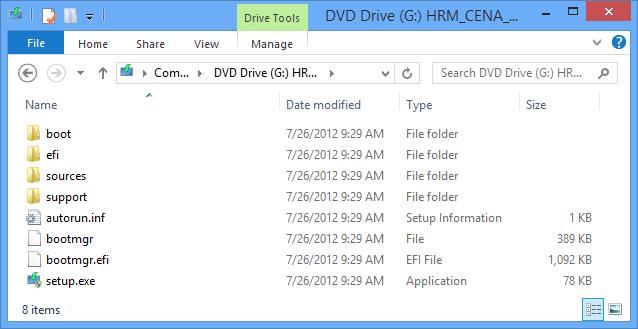
Notice that it also created a drive letter for the ISO. In this example it is 'G:'. Remember this drive letter.
Next we need WimLib. Download and extract it to a location that you can easily access. For this example we extracted it in 'C:\WimLib'.
Use the same Command Prompt as before to navigate to the WimLib directory.

Next we extract the contents from 'install.wim', which is on the ISO, to the disk. Here we need to use the drive letter of your phone (F: in this example) and the drive letter of the ISO (G: in this example). We instruct WimLib using wimapply G:\sources\install.wim F:\ --strict-acls.
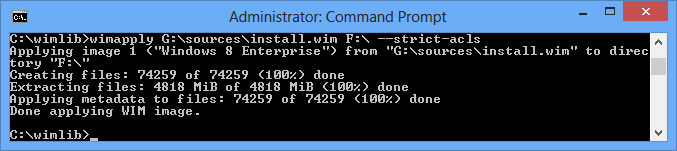
After quite a while it has placed all the necessary files onto the drive.
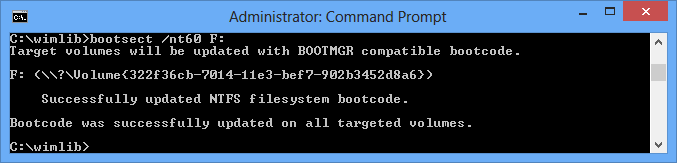
Next we will make sure we can boot from the drive using bootsect /nt60 F:.

And make sure the necessary files for booting are also there bcdboot F:\Windows /s F: /f ALL.
All done! Now do make sure you safely remove the USB drive from Windows and unplug the USB cable.
Booting Windows
Plug in the USB cable into the PC where you want to boot. Start the PC and make sure your phone is used as the boot device.

Next Windows 8 will load and will do some initial setting up. After it has done this, it'll reboot. Make sure you are again booting from the phone.

Booting a second time will actually bring you to Windows and you can configure it to your liking. Have fun!